Squatting Toilet Installation Guide for Public Restrooms
2026-05-19
Let’s be honest: nobody spends their free time dreaming about public restroom plumbing. But when managing a high-traffic facility—like a transit station, a factory, or a busy school—getting the bathrooms right is entirely non-negotiable.
A squatting toilet installed with poor planning isn’t just a minor inconvenience; it’s a fast track to structural water damage, chronic leaks, and massive hygiene hazards. This guide breaks down exactly what facility managers, contractors, and project buyers need to lock down before a single drop of concrete is poured. Expect practical details on rough-in measurements, waterproofing survival tactics, and supplier vetting.
(Planning a new commercial build right now? Xinhe builds brutally durable commercial squatting toilets and backs them up with the precise technical drawings required to get the job done right.)
Why Winging the Installation Doesn’t Work
Residential bathrooms get babied. Public restrooms, on the other hand, get blasted with high-pressure hoses, harsh industrial chemicals, and non-stop foot traffic. If the drainage layout and floor alignment aren’t dead-on from day one, the building is practically guaranteed to suffer from standing water and unbearable odors down the line.
Effective installation planning means the floor-mounted fixture actually aligns with the building’s main plumbing grid. It ensures flooring contractors know exactly how much depth to carve into the concrete slab, and it saves the facility management team from having to jackhammer perfectly good tile just to clear a minor pipe blockage a year later.
Where These Fixtures Make the Most Sense
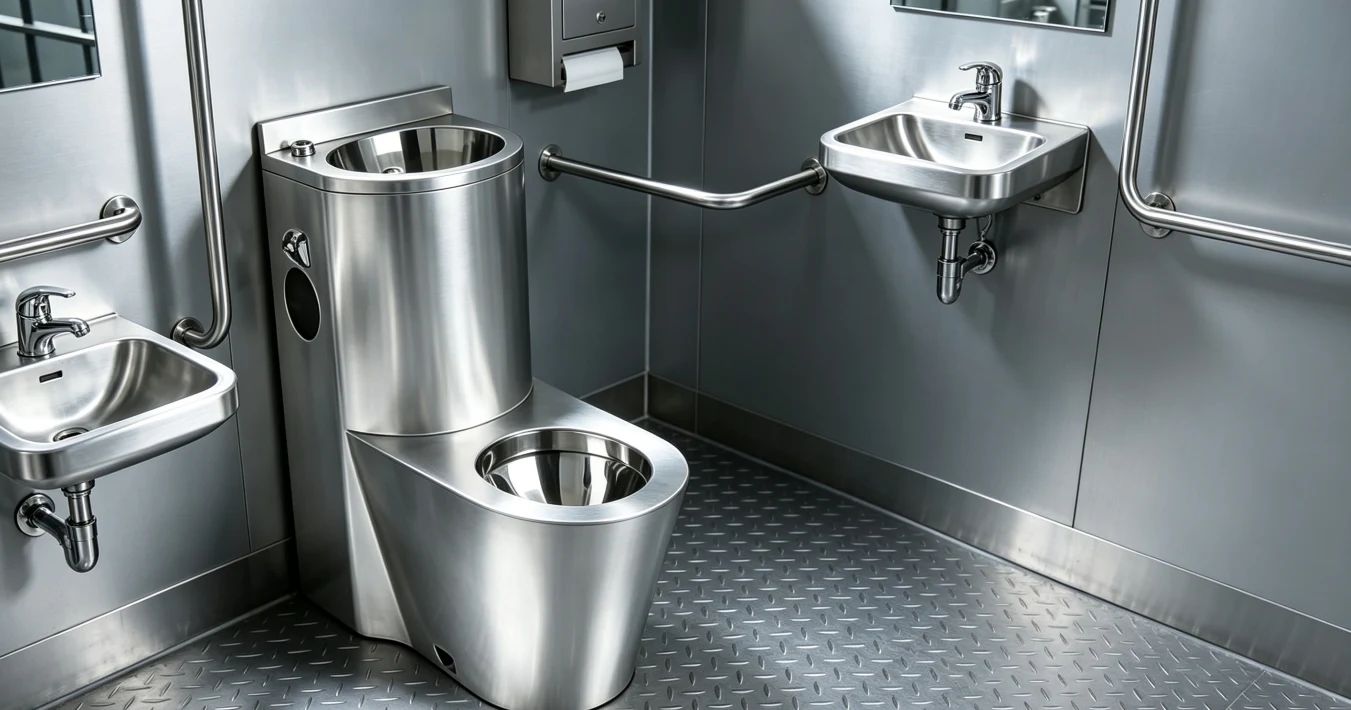
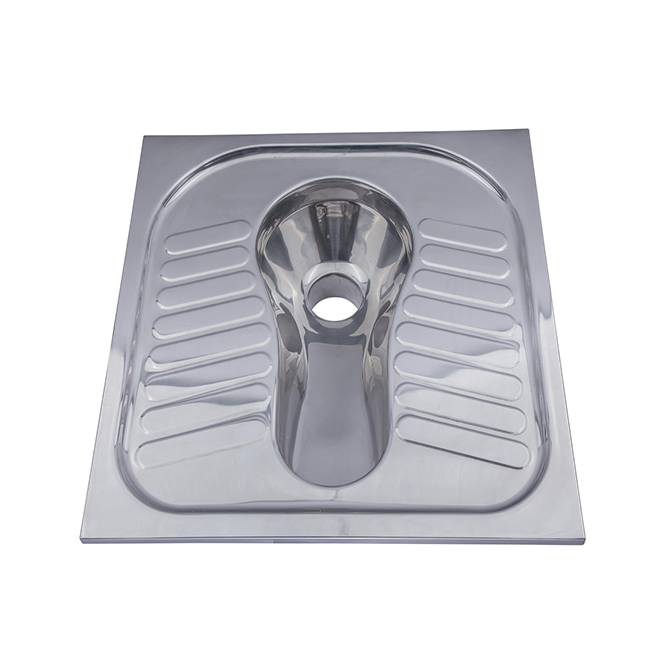
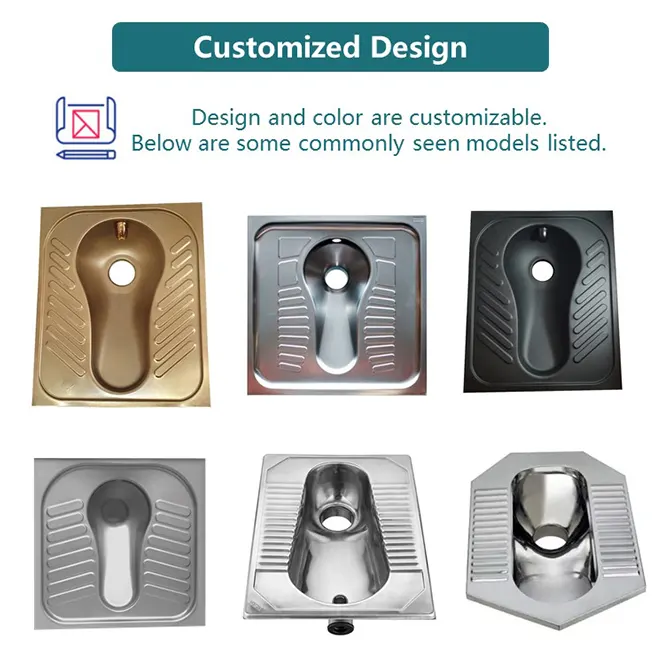
In high-turnover spaces, luxury aesthetics take a backseat to survival, vandal resistance, and rapid cleaning. That’s why a stainless steel squat toilet pan is the default specification for heavy-duty builds.
- Public Transit Hubs: Bus and subway stations where the doors never lock and the traffic never stops.
- Educational Institutions: School bathrooms that demand impact-resistant, completely reliable plumbing.
- Industrial Zones: Factories and massive warehouses where sanitation areas handle heavy shift changes.
- Outdoor Recreation: Municipal parks facing wild temperature swings and the occasional vandal.
Pro Tip: Before locking in the project specs, look into the long-term operational costs of different materials. Knowing exactly why stainless steel units dominate public restrooms makes it much easier to justify the initial procurement budget.
The Pre-Construction Checklist
A flawless fit requires plumbers and flooring crews to actually coordinate. Since every commercial building has its own piping quirks, several key details must be verified before ordering site inventory.
1. Lock Down the Rough-In Dimensions
The rough-in dimension—the exact distance from the finished wall to the center of the floor drain—dictates whether the unit will connect effortlessly or require an expensive pipe reroute. Match this measurement strictly against the supplier’s technical drawing early on.
2. Slope and Waterproofing Realities
Commercial washrooms get hosed down daily. The floor slope absolutely needs to push ambient water actively away from walkways. Pair this with heavy-duty waterproofing membranes. Even when installing a 304 stainless steel squat toilet (which handles moisture without rusting), the surrounding concrete will still rot if water finds a way underneath. Integrating a dedicated industrial floor drain nearby is mandatory to manage overflow safely.
3. Flush System Compatibility
Heavy-duty fixtures demand serious water pressure. Verify what the site uses: high-pressure flush valves, concealed cisterns, or sensor controls? The water supply connection on the fixture must match the site’s plumbing plan, otherwise, the result is a weak flush and a constantly clogged trap.
4. Don’t Block the Maintenance Access
Maintenance is inevitable. Sealing fixtures so aggressively into the floor structure that cleanouts become unreachable is a rookie mistake. Verify the trap design to ensure facility crews can access inspection hatches without destroying the surrounding floor.
What Buyers Actually Need to Look For
Procurement isn’t just about finding the lowest catalog price; it’s about anticipating the abuse the hardware will take. When vetting a commercial squat toilet pan from a supplier, engineering teams should scrutinize the following structural components:
| Feature Category | What to Look For | Why It Actually Matters |
|---|---|---|
| Material Grade | 304 stainless steel (or 316 for coastal areas) | Fights off harsh cleaning chemicals and prevents oxidation. |
| Surface Finish | Brushed, satin, or matte | Hides inevitable scratches and makes daily janitorial wipe-downs faster. |
| Structural Integrity | Heavy-duty steel thickness | Survives relentless foot traffic without flexing or denting. |
| Safety Details | Raised treads on footplates | Significantly cuts down on slip-and-fall liabilities in wet environments. |
| Security Design | Anti-vandal welding & hidden fixings | Stops deliberate tampering in high-risk parks and transit hubs. |
Specifying an industrial grade stainless steel anti slip squat toilet gives project managers a standardized platform that satisfies both strict workplace safety regulations and intense cleaning protocols.
Step-by-Step Installation for Contractors
Local building codes vary, but executing a solid floor-mounted installation follows a distinct workflow to ensure it doesn’t shift, leak, or smell.
- Prep the Site: Audit the incoming plumbing lines first. Does the waste pipe actually match the toilet’s outlet size? Clear the recess of debris and verify that the slab cutout is deep enough to swallow the unit and its integrated trap.
- Do a Dry Run: Drop the fixture into the recess without any mortar. Mark the exact water supply connection and floor boundaries. Never force the pipe connections—make sure the drop-in angle aligns naturally with the drainage system.
- Secure the Connections: Apply commercial-grade pipe sealant or rubber gaskets on the waste outlet to completely block sewer gases. Hook up the water supply and run a provisional test flush. Finding leaks now is far cheaper than finding them after the concrete cures.
- Pack the Base: Hollow stainless steel will vibrate and flex under heavy weight. Pack the void beneath the footplates tightly with low-shrinkage mortar or lightweight concrete. Squeeze out all the air pockets and keep the top edge perfectly flush with the final floor line.
- Waterproof and Finish: Roll a continuous waterproofing membrane over the cured mortar, overlapping the fixture’s flange. Once that sets, tile or epoxy laying can proceed. Finish it off with a high-grade polyurethane sealant where the flooring meets the steel to permanently lock out surface moisture.
5 Installation Disasters (And How to Avoid Them)
The same expensive mistakes happen on construction sites over and over. Avoid these to keep the project timeline intact.
- Pouring Concrete Blind: Guessing the drain location before ordering the unit guarantees massive rework. Fix: Demand a product drawing and drainage layout from the supplier before pouring the slab.
- Ignoring Floor Depth: Assuming all pans share the same depth leaves fixtures sticking up above the finished floor—a massive tripping hazard. Fix: Cross-reference the unit’s vertical dimensions directly with the slab thickness.
- Building a Flat Floor: Flat floors around wet areas guarantee stagnant water and bacterial growth. Fix: Mandate a 1% to 2% slope pointing straight to a secondary floor drain.
- Mismatching Water Pressure: Hooking a high-pressure pan up to standard gravity-fed plumbing means the waste isn’t going anywhere. Fix: Audit the building’s pressure capacity before signing off on the order.
- Skipping the Technical Drawings: Letting on-site plumbers wing the installation usually voids warranties and ruins the structural seal. Fix: Hand over the official installation guides to the site manager on day one.
Vetting B2B Suppliers
- Buying commercial sanitary ware requires moving past basic pricing algorithms. A project needs a squatting toilet supplier who actually understands the messy reality of site engineering.
- A reliable manufacturer will hand over detailed CAD drawings so architectural teams can confirm plumbing layouts early. Ask for verified material certifications to prove the delivery is genuine 304 stainless steel, and check for structural reinforcements underneath the footplates.
- For mixed-use bathrooms—combining traditional pans with accessible stalls—it makes logistical sense to stick to one supplier. Sourcing primary units alongside a matching heavy duty stainless steel toilet bowl simplifies shipping, keeps finishes visually consistent, and locks in quality control across the entire project site.
Finalizing the Specs
A well-executed installation keeps a facility running smoothly, avoiding chronic drainage issues and maintenance headaches down the road. For heavy-use areas, stainless steel hardware is the smartest play—provided the product specs accurately match the harsh realities of the site.
As a veteran manufacturer of commercial washroom hardware, Xinhe backs up contractors and distributors with products built for serious industrial abuse. Currently drafting a facility upgrade or compiling submittal sheets for a new build? Reach out to Xinhe to request precise CAD files, project quotes, and custom stainless steel sanitary ware specifications tailored to the job.