Home > Blog > Home Kitchen Products >
How to Clean and Maintain a Stainless Steel Laundry Sink
Keeping a stainless steel laundry sink looking sharp isn’t actually that hard, but you do need a solid routine to stop it from getting trashed over time. It doesn’t matter if you have a small home unit or a massive industrial setup; a few minutes of maintenance now saves you from a dull, scratched-up mess later. Here is a straightforward way to handle it:
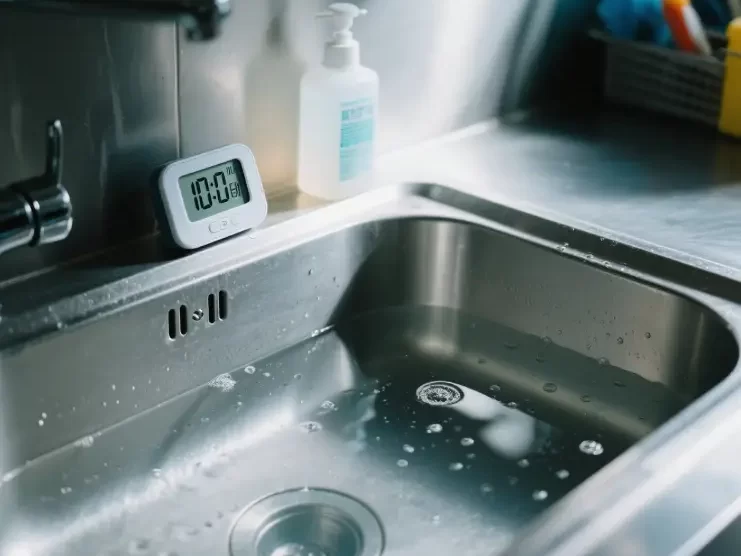
- Heat it up: Run hot water at about 140°F (60°C) for 5 minutes. This softens the dried-on gunk and makes scrubbing way easier.
- The main scrub: Use a sponge with some citric acid or plain white vinegar. This cuts through soap scum and those annoying white limescale spots.
- Get into the cracks: Grab an old toothbrush for the drain and the edges where the sink meets the counter. That’s where the real slime hides.
- Sanitize: Spray a mix of water and bleach (1:100 ratio), let it sit for 10 minutes, and rinse. It kills off whatever is growing in the damp corners.
- The finishing touch: Dry it completely with a rag and rub in a tiny bit of oil. It adds a nice glow and helps water bead off.
Why you shouldn’t ignore your laundry sink
1. Stopping the buildup before it gets gross
Every time you soak clothes or rinse out a bucket, you leave behind lint, detergent, and minerals. If you let it sit, you’re looking at:
- Soap Scum: Detergent reacts with minerals in your water to create a sticky film. About a tablespoon of this stuff can coat your sink every month.
- Biofilm: Those slippery patches in the corners are actually bacteria colonies that form in just 72 hours.
- Limescale: In hard water areas, mineral buildup can grow as thick as a hair strand in just a few weeks.
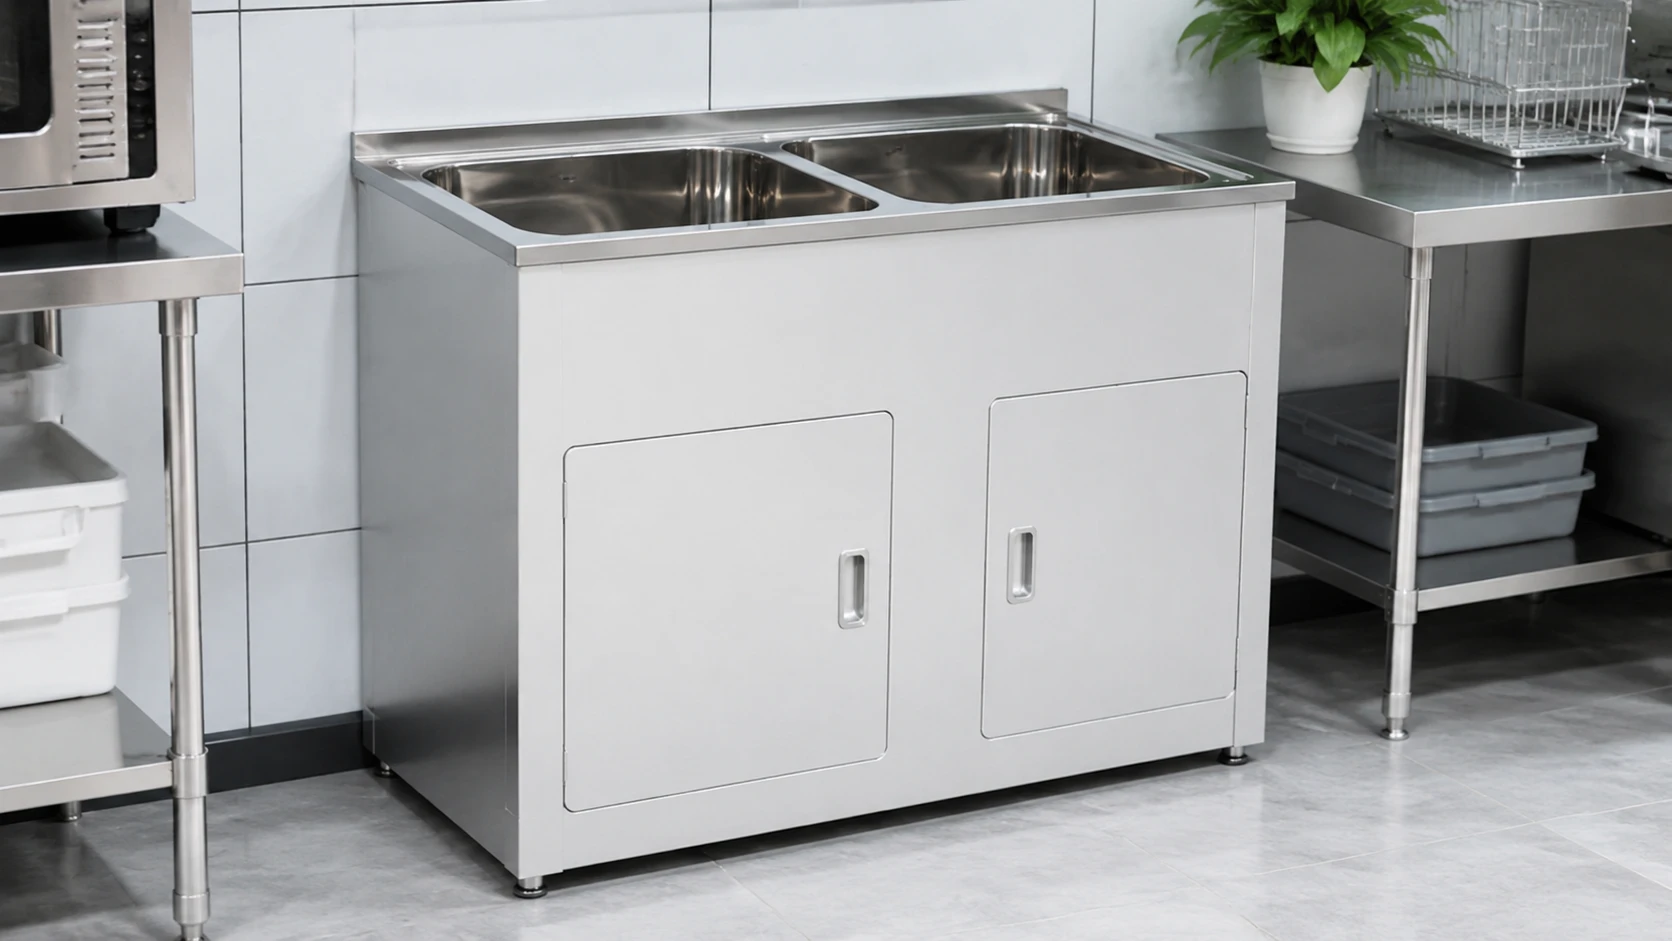
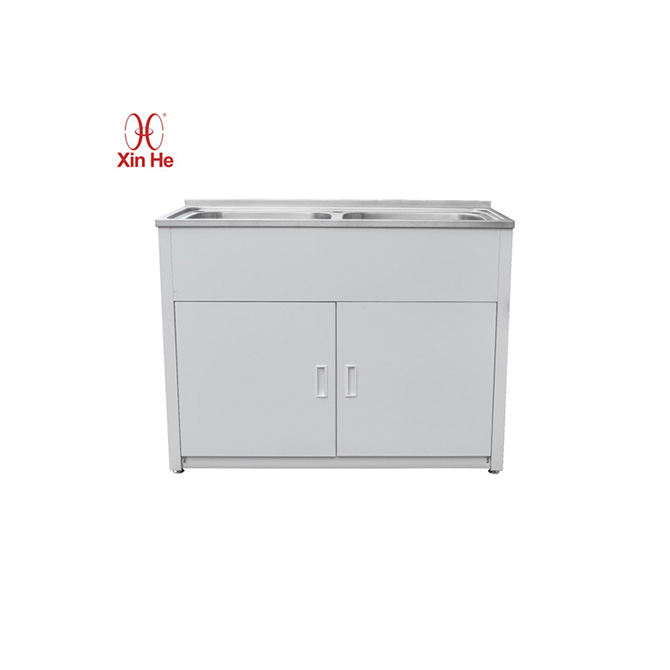
For high-use areas, we usually suggest something like the 90L Double Sink Laundry Cabinet. This 90L stainless steel laundry cabinet is made from 304 or 316 steel, which is much better at resisting that nasty biofilm than cheaper materials.
Think about this: an ignored sink can have 200 times more bacteria than a toilet seat. E. coli loves hanging out in damp drains, so a quick clean actually matters for your health.
2. Preventing rust and permanent damage
The “stainless” in stainless steel comes from a thin layer of chromium oxide. It’s tough, but not indestructible. Really harsh soaps or high-chlorine water can eat through that layer.
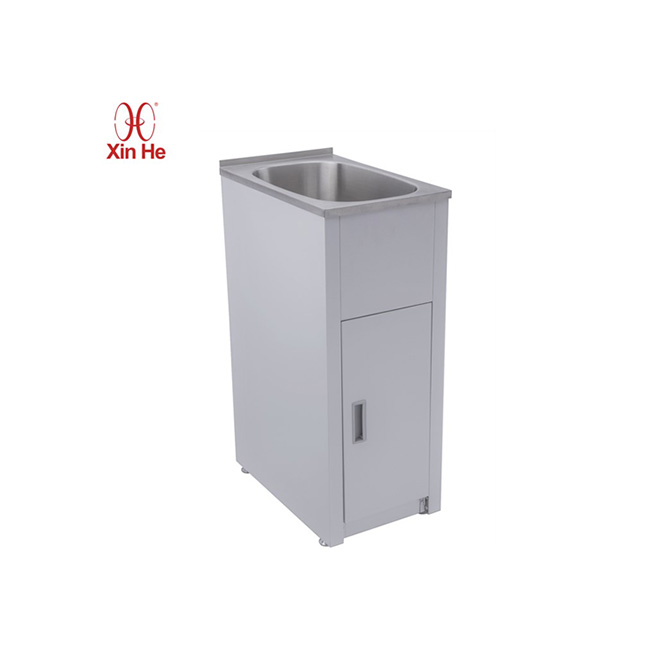
I remember a client near the coast who couldn’t figure out why their sink was getting “pitting” marks. We set them up with our WaterMark certified 30L/35L Stainless Steel Laundry Sink Cabinet. Because of the better surface treatment, it handles salt air and humidity much better. Good maintenance can honestly add 10 years to the life of your sink.
3. Avoiding the “gross factor” and health risks
A dirty sink is more than just ugly; it’s a source of cross-contamination:
- Bacteria move around: If you use a rag in the sink and then wipe a counter, you’re just spreading germs.
- Mold: Damp corners are perfect for mold, which can mess with your allergies.
- Skin irritation: Washing sensitive items like baby clothes in a germy sink can lead to rashes or staph issues.
The CDC notes that over 20% of home infections start around dirty sinks. If you have kids or allergies, keeping this area clean is a big deal.
A practical guide to a deep clean
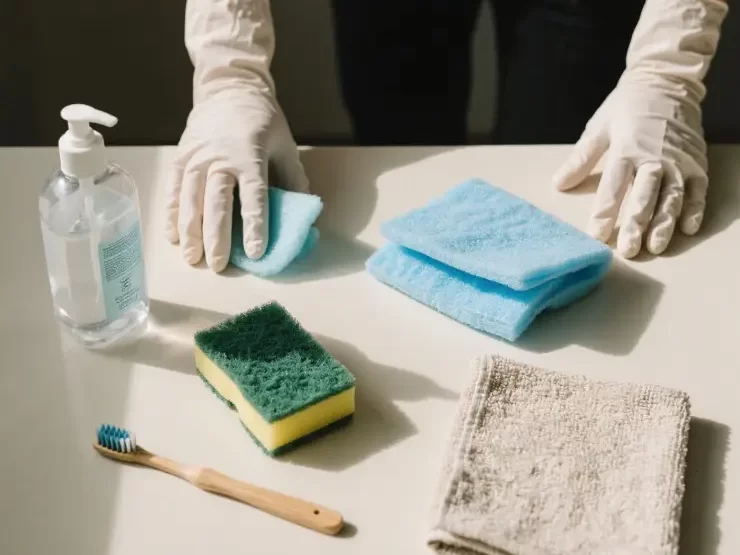
Pick your tools
Don’t just dive in. Wear rubber gloves to keep your skin from drying out. If you’re in a hard water area, using filtered or boiled water for the final rinse can stop new spots from forming. Also, open a window—cleaning fumes are never fun to breathe in.
Choose the right cleaner
| Mess Type | What to use | How to use it |
|---|---|---|
| Soap Scum | Citric acid or warm vinegar | Mix with hot water to melt the film. |
| Limescale | Sulfamic acid or vinegar soak | Let it sit for 15 minutes to soften the crust. |
| Germs/Stains | Sodium percarbonate or diluted bleach | Spray, wait 10 minutes, and rinse well. |
Note: Never mix vinegar and bleach. They react and create dangerous gas.
The deep clean steps
- Preheat: Run that 140°F water. It really does make a difference in loosening the grime.
- Scrub with the grain: Look closely at the steel; it has tiny lines. Scrub in that direction so you don’t leave swirl marks. Use a Q-tip for the tiny gaps and unscrew the faucet aerator to brush out any grit.
- Disinfect: Use your bleach mix or a store-bought spray. Give it time to work before rinsing it away.
- Dry and Polish: Use a dry cloth to get rid of every drop. Rubbing in a little olive oil or baby oil afterwards makes the sink look brand new and helps water slide right off.
Quick maintenance for busy days
If you don’t have time for a full scrub, just do this:
- Rinse with hot water for 2 minutes.
- Use a little dish soap on a sponge.
- Rinse and wipe it dry. This takes five minutes and keeps the sink from getting out of control.
Common sink headaches
- Little brown spots? That’s usually “flash rust” from iron in your water or a wet tin can left in the sink. Rub some toothpaste on it for two minutes or use a bit of oxalic acid. It should come right off.
- Smelly drain? Odors live in the trap. Dump some baking soda down there, follow with hot water, and finish with a squeeze of lemon juice.
- Safe cleaners? Since you might wash clothes or even food-related items here, stick to “food-grade” options like mild dish soap or citric acid.
How often should you do this?
Usually, a daily wipe and a weekly deep clean are plenty. If your water is really hard, you might need to wipe it down twice a day to keep the spots away.